Monday, January 27, 2014

Lots of Lemons

Have you every wondered what to do with all of the lemons you have on your lemon tree?  This is what I do with mine...
 
Just clean them and slice them in half.  Juice them (I did mine by hand, but if you have a juicer, it would go a lot quicker!) and put the juice in ice cube trays until frozen.  I store them in Ziploc bags. 
 
All through the year, I use the cubes to make lemonade or I just add 1 cube to a 20+ ounce glass of water to make lemon water.  (I drink a LOT of water every day, so this adds a little flavor!)


Easy Lemonade

4-5 cubes lemon juice
2 quarts water
1/2 - 1 cup sugar

Mix all ingredients together and let sit for a few hours so flavors can mix. 

Enjoy!


Wednesday, January 22, 2014

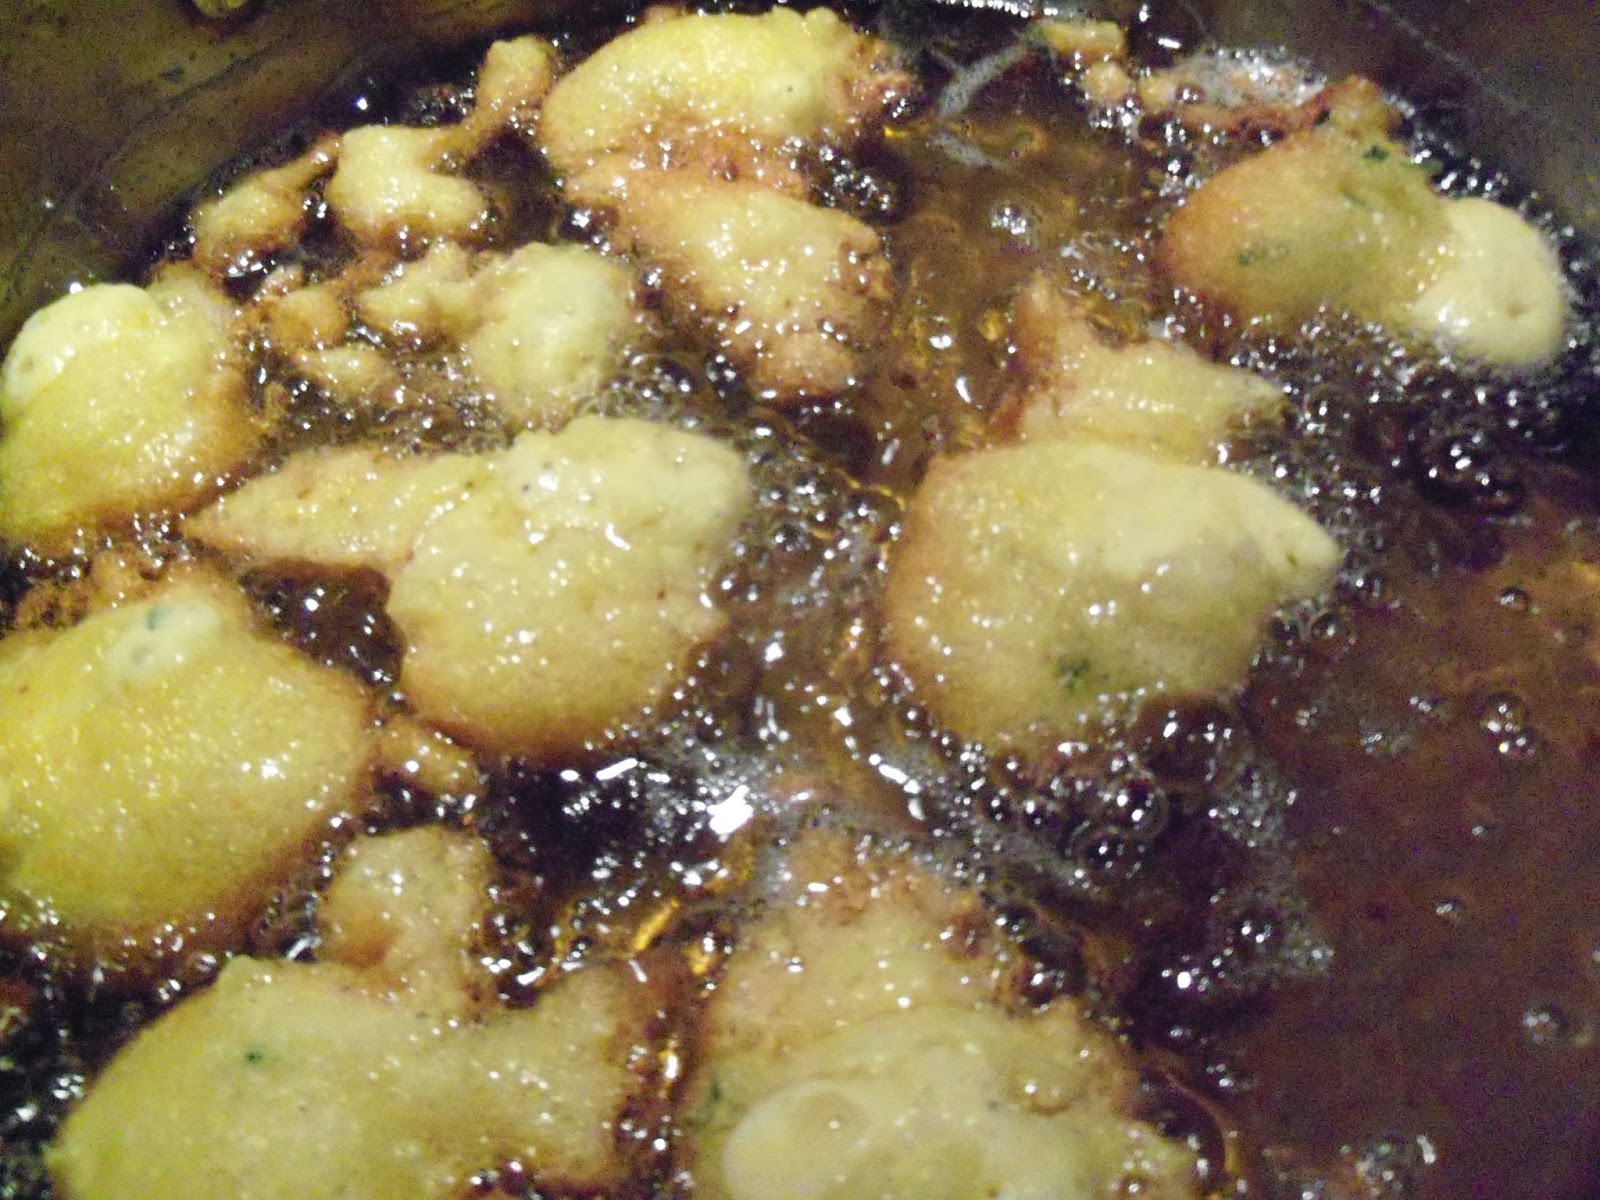
Hush Puppies

  These hush puppies are a great side dish for fried chicken, fried catfish, or fried shrimp.   I don't make these very often, but when I do, we really enjoy them!   


Hush Puppies

1-1/2 cups cornmeal
1/2 cup self rising flour
1 teaspoon baking soda
1 teaspoon salt
1 small chopped onion
1 cup milk
1 egg

Mix dry ingredients together, then add wet ingredients.  Mix well.  Fry in 350 degree oil.  Drop by teaspoonfuls into heated oil.  Let cook 2-3 minutes on each side.  Drain on paper towels.


Enjoy!

Monday, January 13, 2014

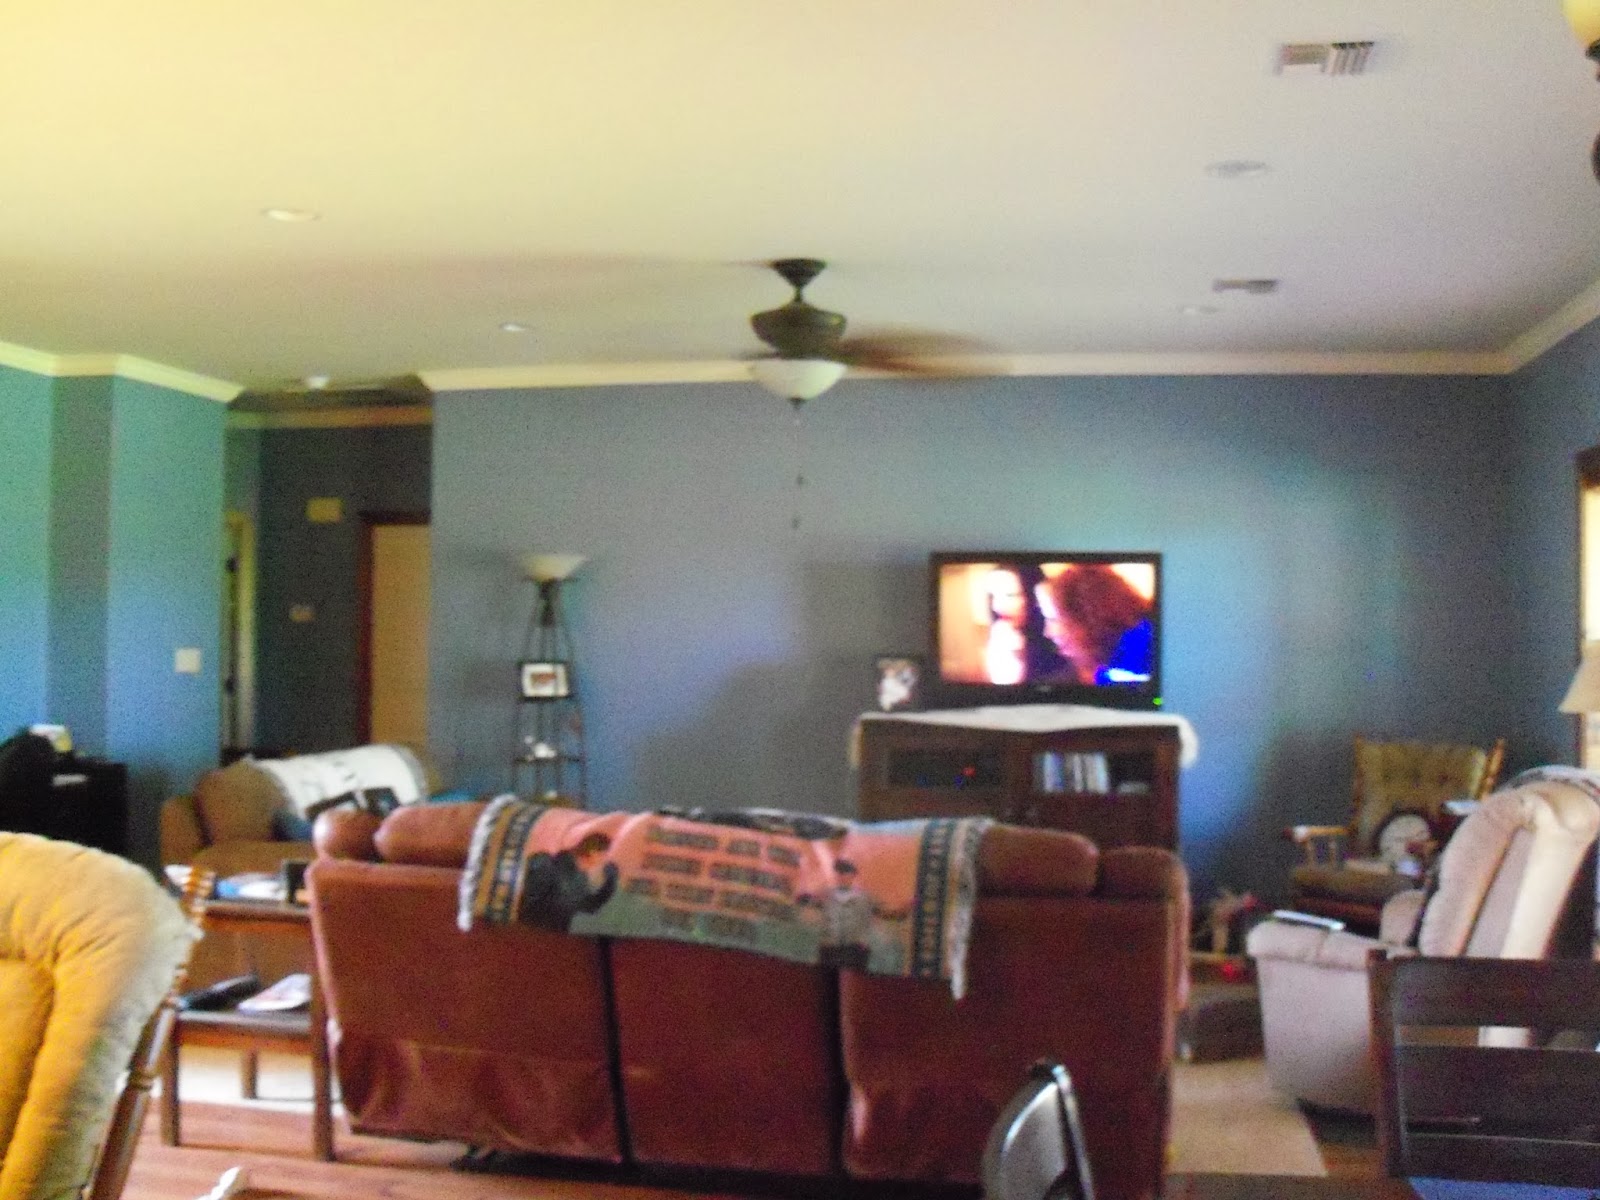
Painted Living Room

 
  This past summer, I decided to repaint my living room.  I was bored with the neutral paint that was on the walls.  When we built this house, we put mostly neutrals in here.  That's what most homes had at the time.  The only problem with that is, it looks so masculine! 
 
I thought it needed some color!  It was a risky endeavor, but I jumped in with both feet.  Since my favorite color is blue, I decided on a  color named hydrangea.  It's Valspar Signature paint + primer.  One coat coverage!  What's not to love about that?  It really did cover the walls with one coat.  Thank goodness, because it took me about 8 hours to paint those walls!  I was NOT looking forward to repeating the process.... 
 
We have an open floor plan that connects to a small hall- that leads to the bedrooms.   I had to paint around the kitchen cabinets, 8 doors and 3 windows...phew!  That's why it took me so long- so much trimming to do.
 
Anyway, here are some of the before, during and after photos:


During


After


After


After
 
 
Before


During
 
 
I am still working on de-cluttering and deciding where to put artwork and pictures back up.  One thing I realized was that I have too much STUFF!
 

This may not be your color, but if you'd like to repaint a room in your home, be bold and do it!  Don't worry about what others will think.  Home is a place where you should feel safe, at peace and comfortable.  It should be a reflection of you and the things that you love.  

Wednesday, January 8, 2014

Spider Plants

   Recently I transplanted some spider plants that I had growing in my flower beds.  I had two plants that had rooted and made a whole lot of baby spider plants!  I decided to put them into different sized planters and try to sell them at our local farmers market back in November.
   Well, the farmers market was cancelled that day because of rain.  They rescheduled it in December when I was visiting my son in North Carolina.  The next one isn't scheduled until the end of March!  So I've had to keep them covered with this blast of winter cold weather we've been having. 
    They really are a very easy plant to grow!  Inside or outside.  I wanted the plants to look a little more special for the farmers market, so I spray painted the black pots (clean them first) that I transplanted them in.  I had different sized pots, so I used everything I had.  I used the cans of spray paint I had around the house to paint the pots.  I may tie some raffia around them too.  That way, they will look like more of a gift than just another plant.  
    I did give some away at Christmas.  Anyone who came by to visit had to take one home!  They would also make good Mother's Day or Easter gifts. (Transplant them a few weeks before you need them, so they have a chance to develop a root system before you give them away!)

     Here's how they turned out.....


Saturday, January 4, 2014

Caramel Popcorn

My family  loves caramel popcorn!  Turn on a movie and have this on those cold, wet winter days.  I have been making this recipe since my sons were little (which has been about 25 years).  It takes awhile to make, but we like it better than the store bought version.  It also cost less to make and you get a LOT more of it!


Caramel Popcorn
 
1 cup butter
2 cups brown sugar
1/2 cup corn syrup
1 teaspoon salt
1/2 teaspoon baking soda
1 teaspoon vanilla
6 qts. (24 cups) air popped popcorn
 
If you don't have a popcorn popper, don't worry.  I make mine in the microwave.  Put about 1/2 cup popcorn kernels in a brown paper lunch bag.  Microwave about 2-3 minutes. ( I don't reuse the kernels that didn't pop.)  Repeat until you have 6 qts.
 
Put popcorn in large roasting pan.
 
In saucepan, melt butter.  Stir in sugar, corn syrup, and salt.  Boil while stirring 5 minutes.  Remove from heat and stir in soda and vanilla.  (It will foam.)  Pour over popcorn in pan and stir.   Bake at 250 degrees for 1 hour.  Stir every 15 minutes - this will spread the coating as it melts.
 
After the hour is up, remove from oven and put in large bowl.  Stir until it has cooled somewhat.  This also helps break up the popcorn so it doesn't all stick together. 
 
Store in a Ziploc bag.  It will be good for at least a week, but odds are it will be all eaten by then!


Large roasting pan with 6 qts. popcorn and boiling caramel sauce in saucepan.
 
This is what it looks like when you first pour on the caramel sauce.
Cook 1 hour - stirring every 15 minutes

I wish you could smell this!!!!
 
Put in large bowl, stir while it cools.

 
The final product - Delicious!
 
I hope you enjoy it as much as we do!


Sunday, December 22, 2013

Family Time and Too Many Presents

     Sorry I have been away, but I've been visiting my Army son and his family for the last couple of weeks.  I did surprise the grandchildren with my trip.  They had no idea that I was coming until I walked into their house.  They were ecstatic...I love surprises! 

 While I was there, I was able to go to their school Christmas Concerts, and the girls dance recitals.  They did a great job!  

Now, we are all back in Louisiana for the holidays.  My Navy son and husband are here too.  It's not every holiday that we all get to be together, so we enjoy family time when we can.  I cherish these memories that we are making! 

It has been a flurry of activity around here with cooking, baking and wrapping presents.  My daughter-in-law and I were looking at the tree with all of the presents under it and decided we had overdone it again..... (sound familiar?)  Which brings me to this point- Christmas presents have gotten out of hand!  Does each grandchild REALLY need 15-20 presents (from mom and dad, grandparents and Santa????)  I think not! 

I have come to a decision....next year they get 1 nice gift from me.  I am not trying to be a scrooge, but this has to be put in perspective.   They get so overwhelmed by all of the gifts,  that they pick their favorite ones and the others get pushed aside.   Their toy boxes are full already...where's the new stuff going to go?  Anyone else in this situation?   Let's see if I can stick to my decision.....

For me, Christmas is about spending time with the people you love.  Not the gifts you get.  Just being with my sons, daughter-in-law, grandchildren and husband is the best Christmas present I could ask for! 

I hope you also get to spend time with the people you care about...


  Merry Christmas from Cajun Country!!!

Monday, December 2, 2013

Wild Hog Boudin

     This is our first attempt at making boudin....it actually turned out pretty good!  It's not hard to do, just a little time consuming.  We will do this again, but with a real sausage maker and not a meat grinder. 

     I got the original recipe from the Louisiana Sportsman October Magazine.  We tweaked it a little and came up with this easier version.  


Wild Hog Boudin

10 lbs. ground wild hog pork (regular will do too)
2 lbs.  liver (I used beef liver)
2 24 oz. bags seasoning blend
1 cup minced garlic
8 cups chicken broth
1 T. cayenne pepper
3 T. salt
1 T. black pepper
4 bunches chopped green onion
1 bunch chopped parsley
2 T. Tobasco hot sauce
2 packages sausage casings
3 lbs.  uncooked rice

In very large pot add ground pork, liver, seasoning blend, salt and pepper.  Add enough chicken broth to cover meat completely.  Bring to boil, then reduce heat to simmer and cook until pork is done.  Give it approximately one hour.  Stir often to break down meat into small pieces.

Remove meat and vegetables with slotted spoon- reserve one gallon of broth.  Bring the liquid to a boil and add rice, reduce heat and cook until rice is done.

In a large bowl, add meat mixture, green onions, parsley, hot sauce and cooked rice.  Blend well.  Taste and add more seasoning if necessary. 

Rinse sausage casings with warm water.   Place over sausage stuffer, tie knot on one end.   Put boudin mixture in top of stuffer and start pushing the stuffing through the casing.  Don't overfill or it will explode.  Twist as you go.  We made about four links at a time and then cut it to start another one.  Repeat until all stuffing is gone. 

This recipe made about 15 lbs. boudin.  At this stage, the boudin is cooked and can be eaten immediately.  It can be frozen in Ziploc bags (a few links in each), grilled, smoked, or reheated by simmering in water or steaming. 

Boudin can be eaten alone, or on French bread (like a sandwich).  Drizzle Steen's Syrup over the boudin...it is DELICIOUS!


What can I say, we Cajuns LOVE our boudin!!!


This is our meat grinder. It has a sausage attachment.  Sorry, didn't get a pic of that.
 After mixing all ingredients - ready to stuff the casings.  Looks like rice dressing!


You can find the original recipe at www.louisianasportsman.com.