Saturday, March 1, 2014

Homemade Dish Washing Detergent


    Now that I made laundry detergent, I thought I'd try dishwasher detergent.  This is even easier than the laundry detergent!  So there is no excuse not to try.  Each load only cost about a nickel.... No sale or coupon, that I know of,  will get you dishwasher soap that cheap!


Ingredients:

1 cup Borax
1 cup Arm & Hammer Washing Soda
1/2 cup Kosher Salt
3/4 cups Lemi Shine

All of these ingredients are at Walmart- check the laundry section and the dish detergent sections.

Mix all ingredients together and put in container.  Leave container open (stir occasionally).  Be sure not to skip this step, otherwise you will end up with a large BRICK!  The next day, stir again and close container.  Use 1 Tablespoon per load.    Makes enough for about 50 loads.

*You could double recipe, but try it this way first.  If you don't like it, you won't waste much! 


Let me know how these are working for you or if you have better recipes- I am open to all new ideas!

Wednesday, February 19, 2014

Homemade Laundry Soap

     I know we are probably all trying to save a little money, so I thought I'd try to make my own laundry soap.   How hard could it be, right? As it turns out, not hard at all.  The great thing is, you can save quite a bit of money too!  I found all of the ingredients at Walmart.


Ingredients:

1/2 cup Borax
1/2 cup Arm and Hammer Super Washing Soda
1/2 bar Fels-Naptha Soap
2 cups water

Heat 2 cups water in sauce pan.  Grate the 1/2 bar of soap (this is important!) It will not work if you just chop it into chunks!  Add the soap to the water and stir on medium heat until the soap is dissolved.


 Using a 5 gallon bucket, fill it about 1/4 full with hot tap water.

Add the Borax and Arm & Hammer Super Washing Soda to the 5 gallon bucket of hot water. Stir until dissolved.  Then add the soap mixture (from the saucepan) to the bucket and stir well.  Add more hot water to the 5 gallon bucket until it is 1/2 full. Stir again.  Cover bucket with lid.

Let sit overnight.  It will be thick in the morning. Stir again and use a funnel to put the detergent in containers. I used old Hawaiian Punch bottles and a used laundry detergent bottle to store the detergent in.  Fill the container to about 3/4 full and then add water to top it off. Shake well before using.

It may be a little work, but I got about 3-1/2 gallons of detergent for less than $2.00!

Give it a try!!!!


Thursday, February 6, 2014

Cajun Winter Wonderland

     I couldn't help sharing some of these photos from the past couple of weeks here in South Louisiana.  Sorry about the quality of some of the photos.  My camera broke, so I had to use my cell phone....

     For those of you who live further north, this is a common sight.  Down here,  we RARELY see anything like this!  This is about as close to a winter wonderland as we get... just beautiful!


Monday, January 27, 2014

Lots of Lemons

Have you every wondered what to do with all of the lemons you have on your lemon tree?  This is what I do with mine...
 
Just clean them and slice them in half.  Juice them (I did mine by hand, but if you have a juicer, it would go a lot quicker!) and put the juice in ice cube trays until frozen.  I store them in Ziploc bags. 
 
All through the year, I use the cubes to make lemonade or I just add 1 cube to a 20+ ounce glass of water to make lemon water.  (I drink a LOT of water every day, so this adds a little flavor!)


Easy Lemonade

4-5 cubes lemon juice
2 quarts water
1/2 - 1 cup sugar

Mix all ingredients together and let sit for a few hours so flavors can mix. 

Enjoy!


Wednesday, January 22, 2014

Hush Puppies

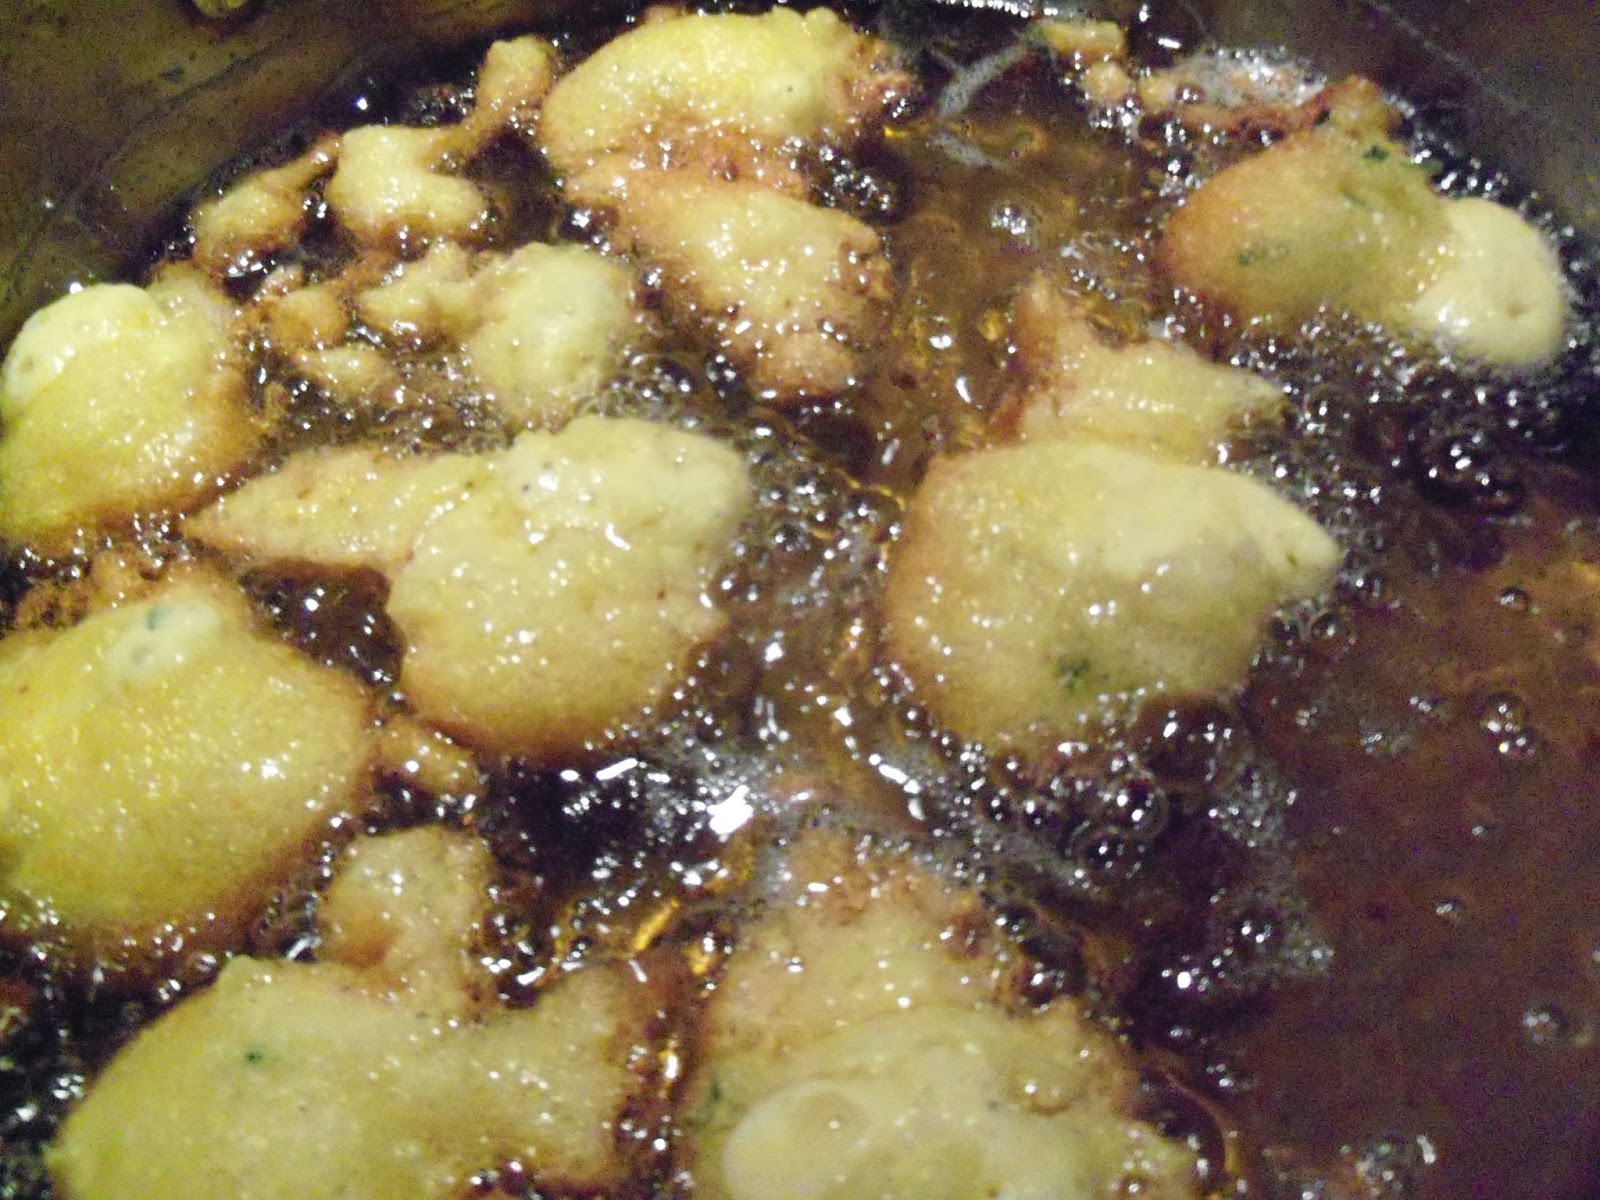
  These hush puppies are a great side dish for fried chicken, fried catfish, or fried shrimp.   I don't make these very often, but when I do, we really enjoy them!   


Hush Puppies

1-1/2 cups cornmeal
1/2 cup self rising flour
1 teaspoon baking soda
1 teaspoon salt
1 small chopped onion
1 cup milk
1 egg

Mix dry ingredients together, then add wet ingredients.  Mix well.  Fry in 350 degree oil.  Drop by teaspoonfuls into heated oil.  Let cook 2-3 minutes on each side.  Drain on paper towels.


Enjoy!

Monday, January 13, 2014

Painted Living Room

 
  This past summer, I decided to repaint my living room.  I was bored with the neutral paint that was on the walls.  When we built this house, we put mostly neutrals in here.  That's what most homes had at the time.  The only problem with that is, it looks so masculine! 
 
I thought it needed some color!  It was a risky endeavor, but I jumped in with both feet.  Since my favorite color is blue, I decided on a  color named hydrangea.  It's Valspar Signature paint + primer.  One coat coverage!  What's not to love about that?  It really did cover the walls with one coat.  Thank goodness, because it took me about 8 hours to paint those walls!  I was NOT looking forward to repeating the process.... 
 
We have an open floor plan that connects to a small hall- that leads to the bedrooms.   I had to paint around the kitchen cabinets, 8 doors and 3 windows...phew!  That's why it took me so long- so much trimming to do.
 
Anyway, here are some of the before, during and after photos:


During


After


After


After
 
 
Before


During
 
 
I am still working on de-cluttering and deciding where to put artwork and pictures back up.  One thing I realized was that I have too much STUFF!
 

This may not be your color, but if you'd like to repaint a room in your home, be bold and do it!  Don't worry about what others will think.  Home is a place where you should feel safe, at peace and comfortable.  It should be a reflection of you and the things that you love.  

Wednesday, January 8, 2014

Spider Plants

   Recently I transplanted some spider plants that I had growing in my flower beds.  I had two plants that had rooted and made a whole lot of baby spider plants!  I decided to put them into different sized planters and try to sell them at our local farmers market back in November.
   Well, the farmers market was cancelled that day because of rain.  They rescheduled it in December when I was visiting my son in North Carolina.  The next one isn't scheduled until the end of March!  So I've had to keep them covered with this blast of winter cold weather we've been having. 
    They really are a very easy plant to grow!  Inside or outside.  I wanted the plants to look a little more special for the farmers market, so I spray painted the black pots (clean them first) that I transplanted them in.  I had different sized pots, so I used everything I had.  I used the cans of spray paint I had around the house to paint the pots.  I may tie some raffia around them too.  That way, they will look like more of a gift than just another plant.  
    I did give some away at Christmas.  Anyone who came by to visit had to take one home!  They would also make good Mother's Day or Easter gifts. (Transplant them a few weeks before you need them, so they have a chance to develop a root system before you give them away!)

     Here's how they turned out.....